In this post, we will explain the process that we followed to design and fabricate the Morlaco stay bracket.
As you know, Altair is our partner and now we use their software to design our components. We also have arrived at an agreement with Optimus 3D, the top 3D printing company in Spain, so, if we mix those ingredients, it was quite logical to think that it would be very interesting to design the stay bracket using topological optimization and then print it in titanium. For sure that we would learn a couple of things during the process.
The first step was to make a study of the main loads that the stay bracket should withstand. The most important would be the aerodynamic ones. We calculated them with a very simple CFD model, using Altair’s software “Virtual Wind Tunnel”.
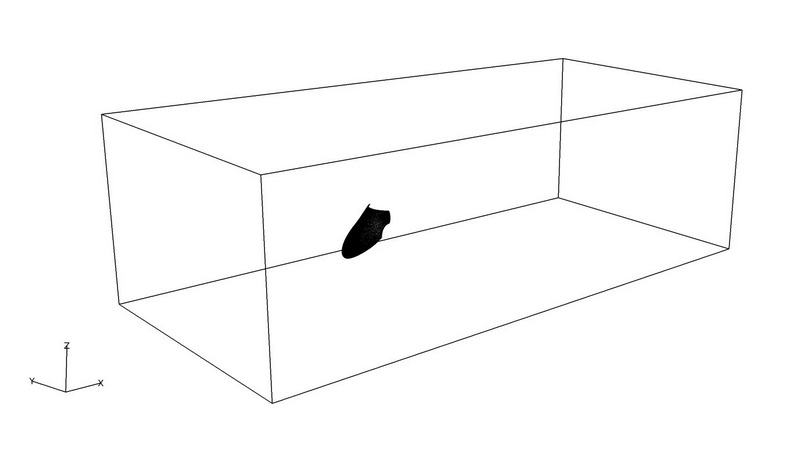
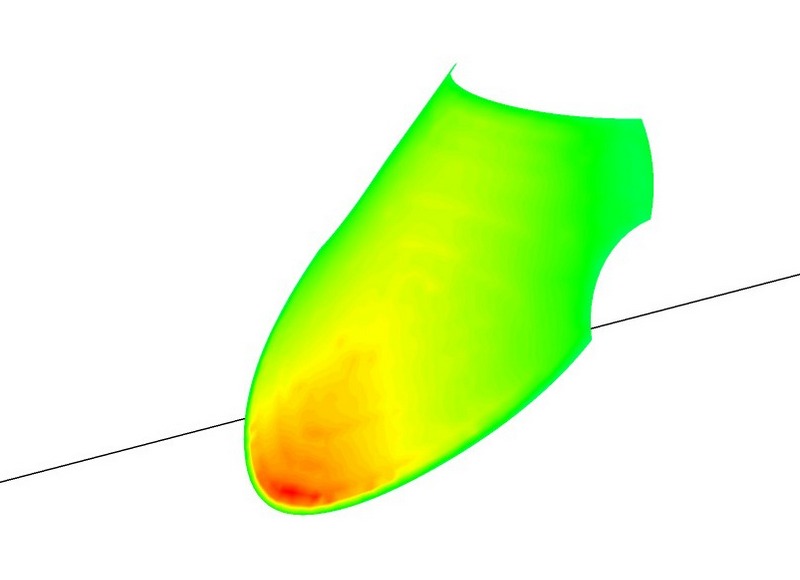
We created a virtual tunnel, we placed the windscreen in the same position that it has in the bike, and we calculated the aerodynamic loads that it would have with the bike running at 300 km/h.
Then, we created a drawing with the maximum external volume that the stay bracket could have. This volume had a shape inspired in the sketches that Rémy did before (we already saw these sketches in a previous post). Of course, this volume had an adequate shape to avoid any interference with other parts of the bike (especially what we call “scissors”, which are the parts that transmit the handlebar turning to the fork).
Next step was to start “playing” with Inspire, a topological optimization software from Altair. We could have used Optistruct, which is another more powerful software, but because we were novices using these programs, we decided to use Inspire which is a more easy, user-friendly software.
In fact, we didn’t have too much time to design the part, because the plan was to print it and mount it on the bike in a few days, in order to arrive on time to have the bike on display at Addit3D (the most important 3D print fair in Spain, that takes place in Bilbao from 4 to 6 of June) in the Optimus 3D stand.
With Inspire we used the maximum volume of the bracket and we introduced the aerodynamic loads that we had calculated. With that information the software optimizes the part removing as much material as possible to achieve a good weight/stiffness ratio.
In fact, we could have designed an even lighter part, but we preferred to have a good safety factor to be sure that the part will have good behavior in different situations as, for example, going fast over the kerbs. We also wanted our stay bracket to have some options for resisting a small crash without falling apart.
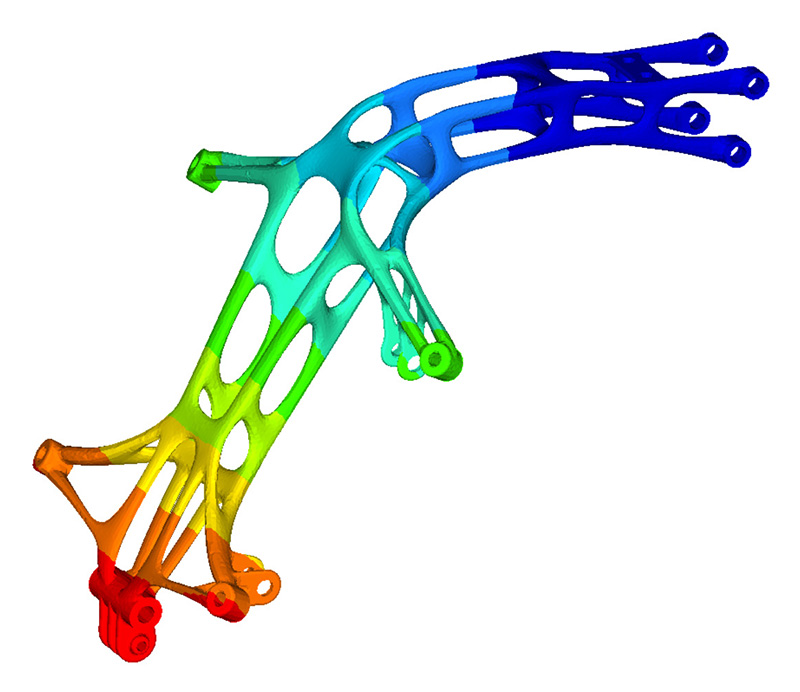
During this phase we got this kind of shapes:
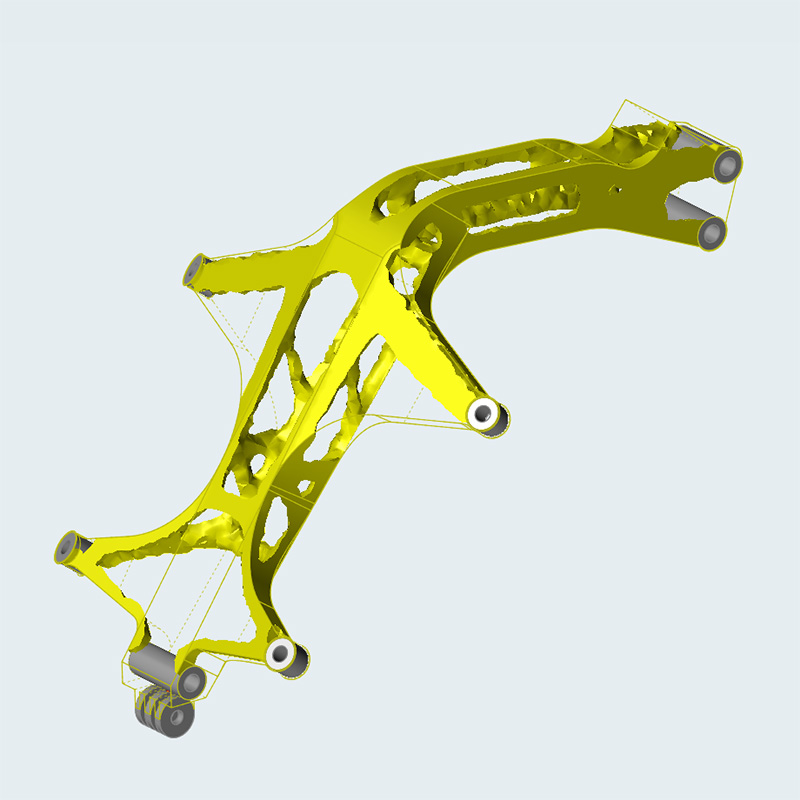
Inspire includes a small Finite Elements Analysis (FEA) module that you can use in order to have a first idea about the safety factor of your design.
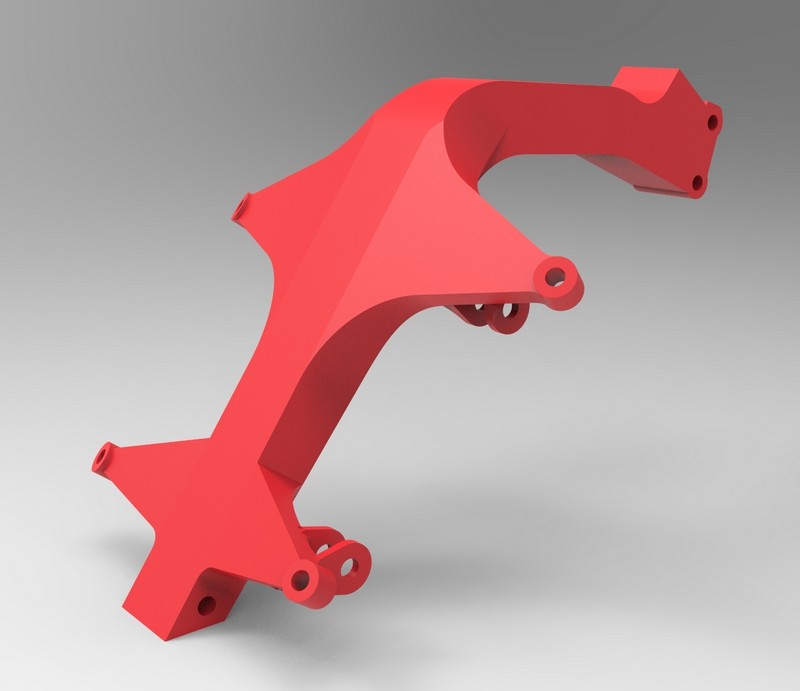
Once we had a solution we were happy with, we modified it to get a more clean and elegant design. We made it also with Inspire. If we have had more time we would have tried Evolve, another software from Altair, which allows you to do it in a more precise way.
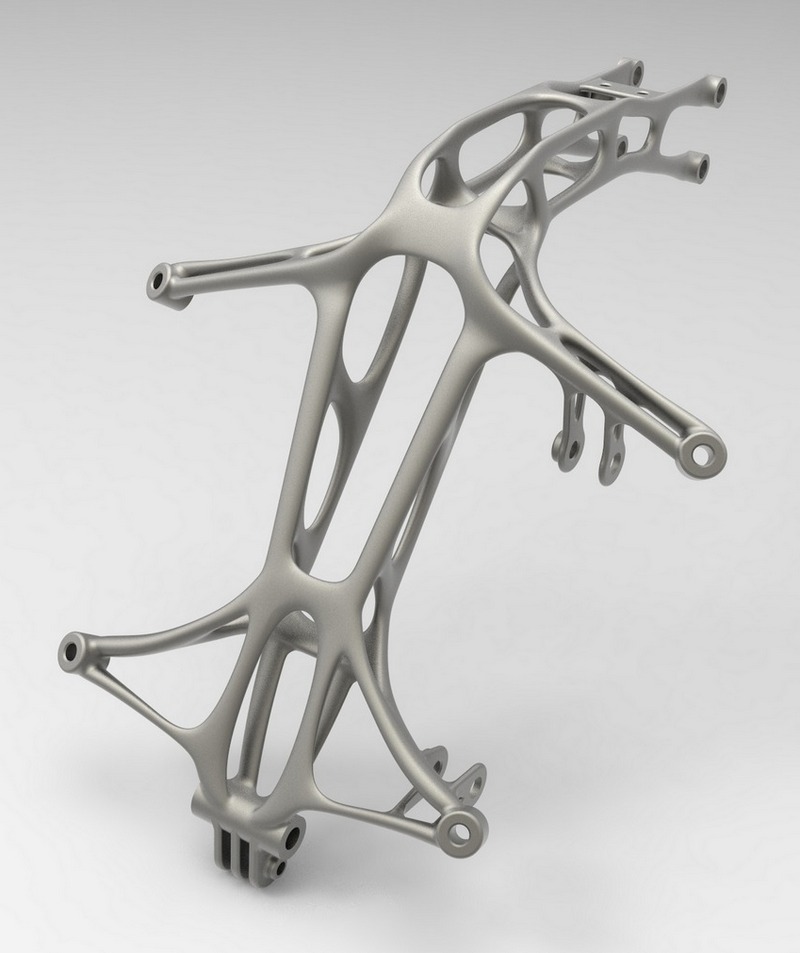
This was the final result, a clean design that has a quite organic shape, as it uses to happen when you design using topological optimization.
Next step was making a FEA model to study in a precise way the stress levels, deformations and the safety factor that the part would have.
We did it using Hypermesh. We had some problems with the mesh creation because we always had a few elements (the small pieces in which the part is divided to perform the calculation) that didn’t have the necessary quality.
Because we are still novices using these programs, and we were in a hurry to design the part on time, we asked Idaero for help. They are a Spanish engineering company located in Madrid, and they are specialists in product design using Altair software. They solved the problem in a fast way meshing the part with Simlab, another tool from Altair which is used mainly to mesh solids using tetrahedrons.
We also have arrived at an agreement with Idaero. They will help us with this kind of issues, because they have a lot of experience with these tools, and also designing composite components, a field in which we (Bottpower) want to do many things in the next years. They will help us in this regard, and we will be able to learn from them. Sounds good, eh? 🙂
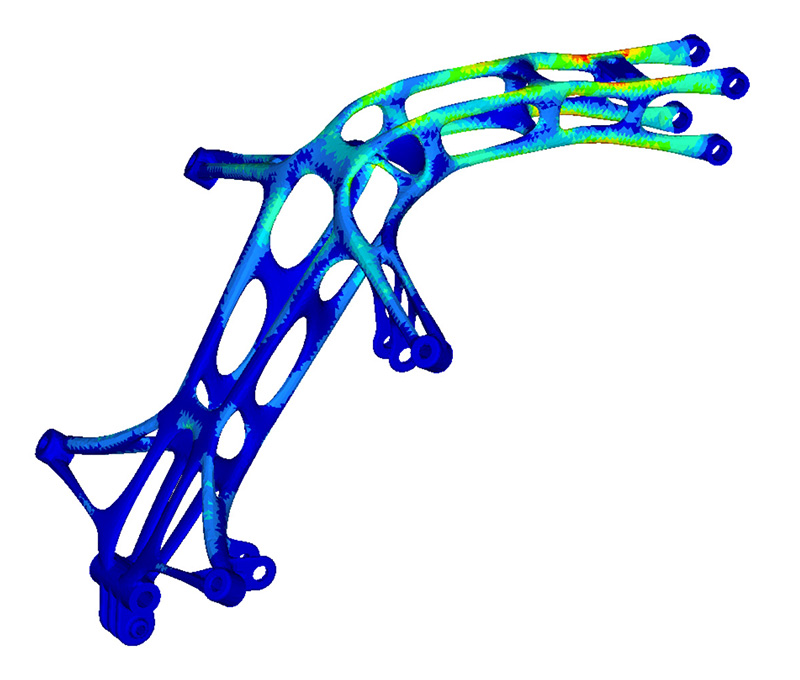
Once we had the part properly meshed, we checked that it was good enough regarding stress levels, deformations, and safety factor. We also did a modal analysis to study its main vibration modes.
Next image shows the stress levels:
And next one deformations:
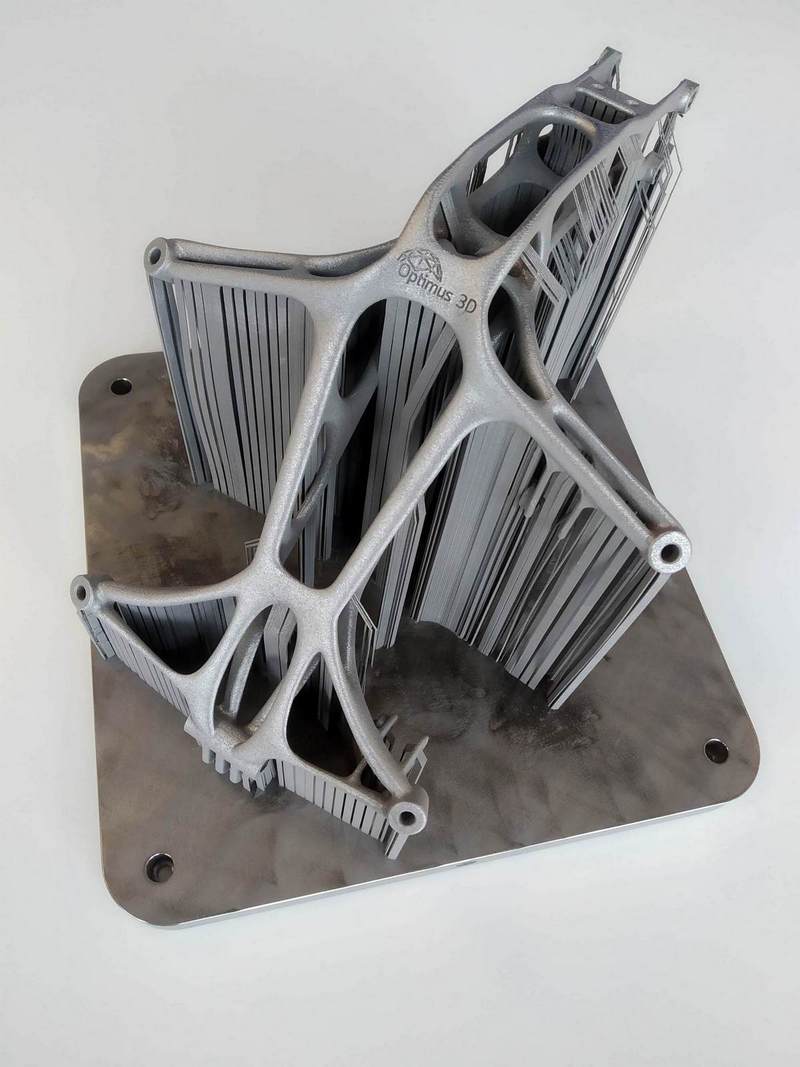
The part design was done, so we sent it by email to Optimus 3D. Printing a metallic part is much more complex than printing a plastic one. Temperatures are much higher (the metal is melted with a laser) and for example, the design of the part supports (take a look at next photo) is very important because the supports are used also as a heat dissipator helping the part to cool down faster in those areas which have more heat concentration.
This is the aspect that the part had when it was already printed, still with the support material.
And this is how it looked once the support material had been eliminated.
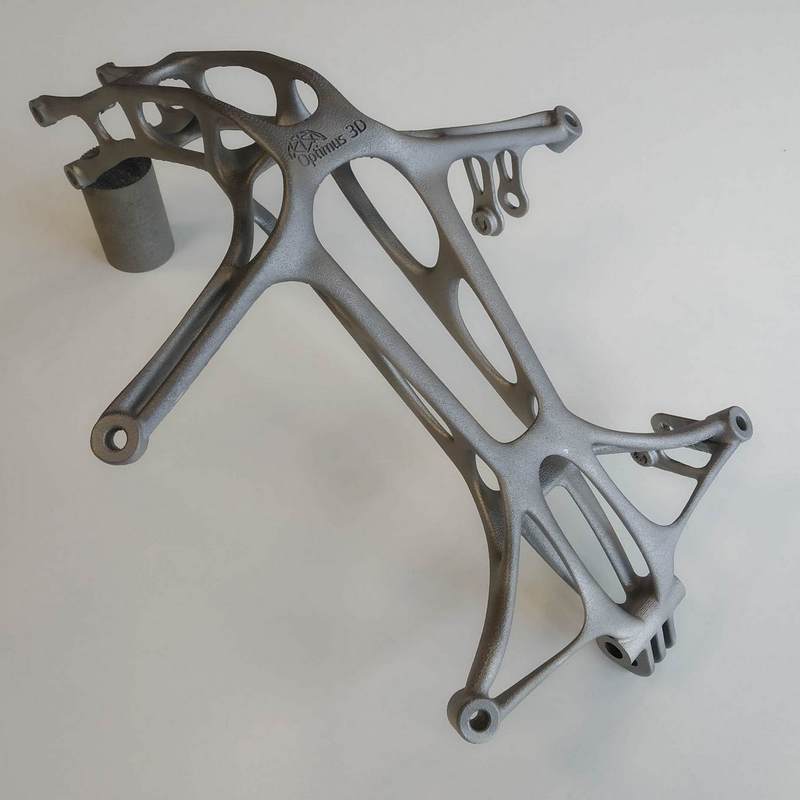
Once we received the part, we checked the main dimensions and everything was perfect.
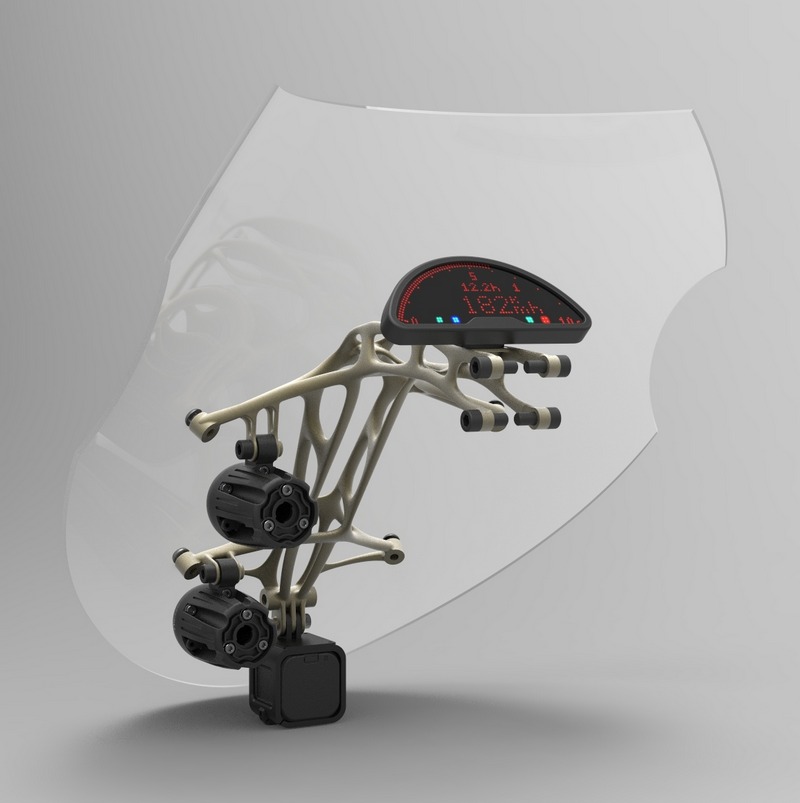
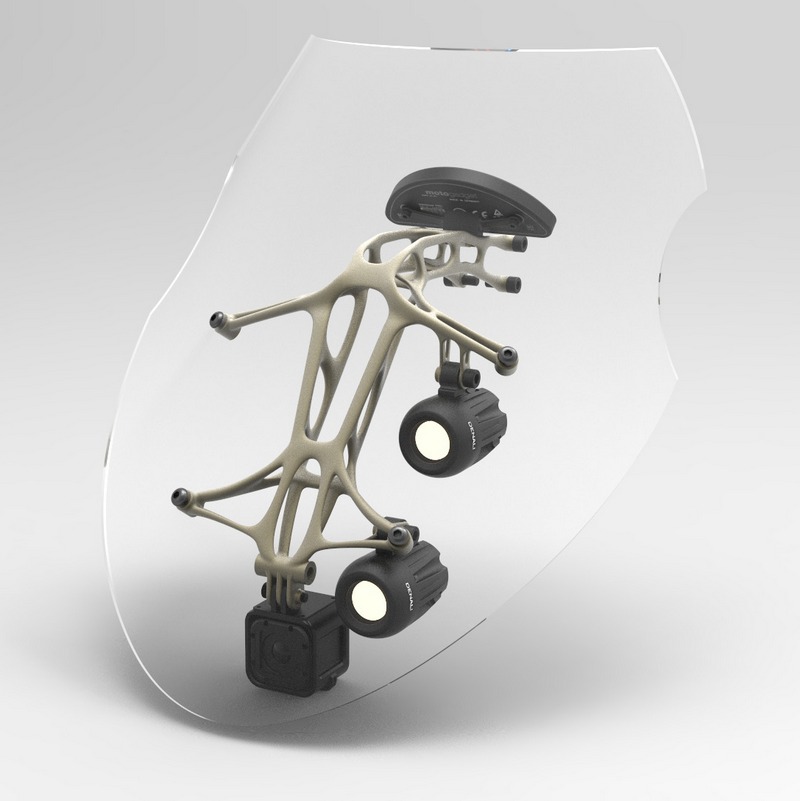
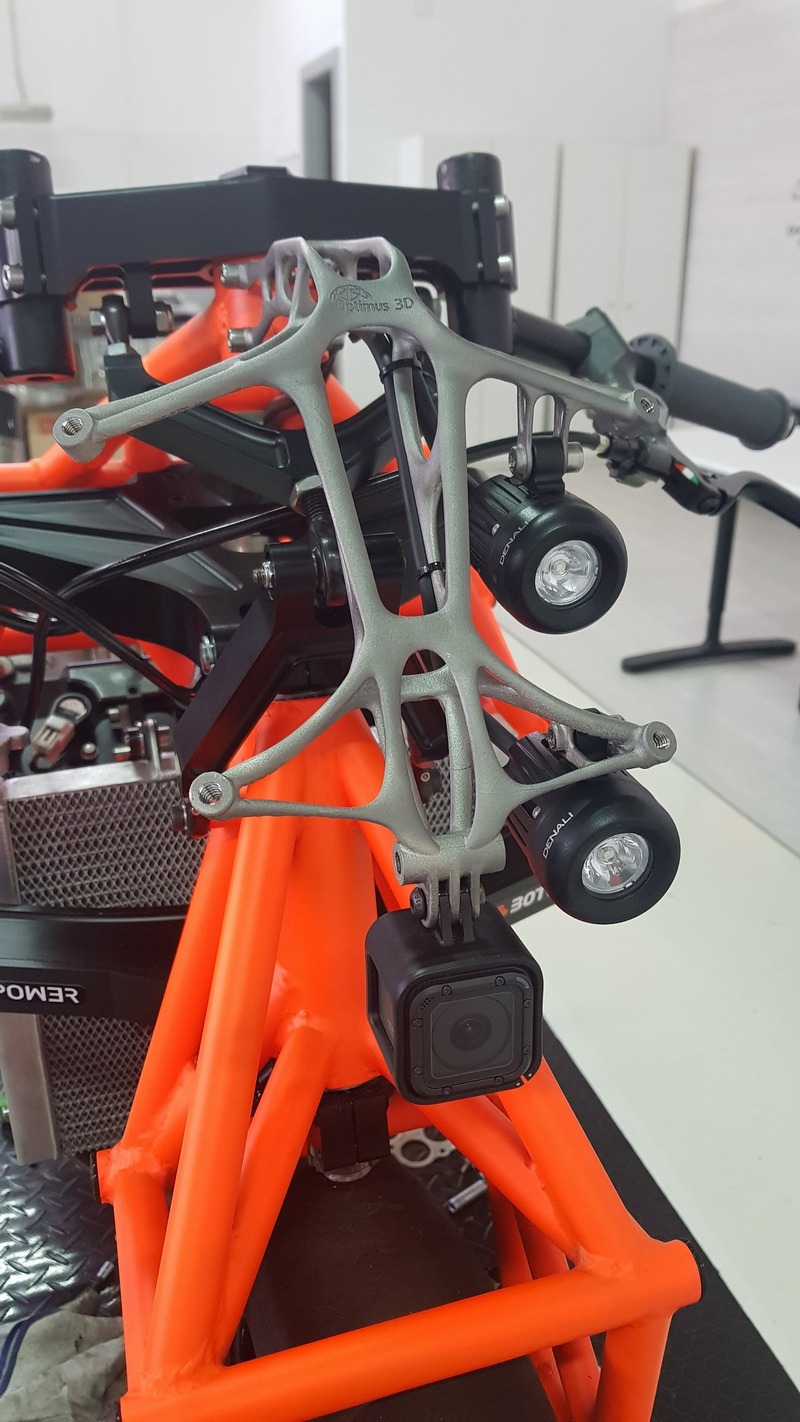
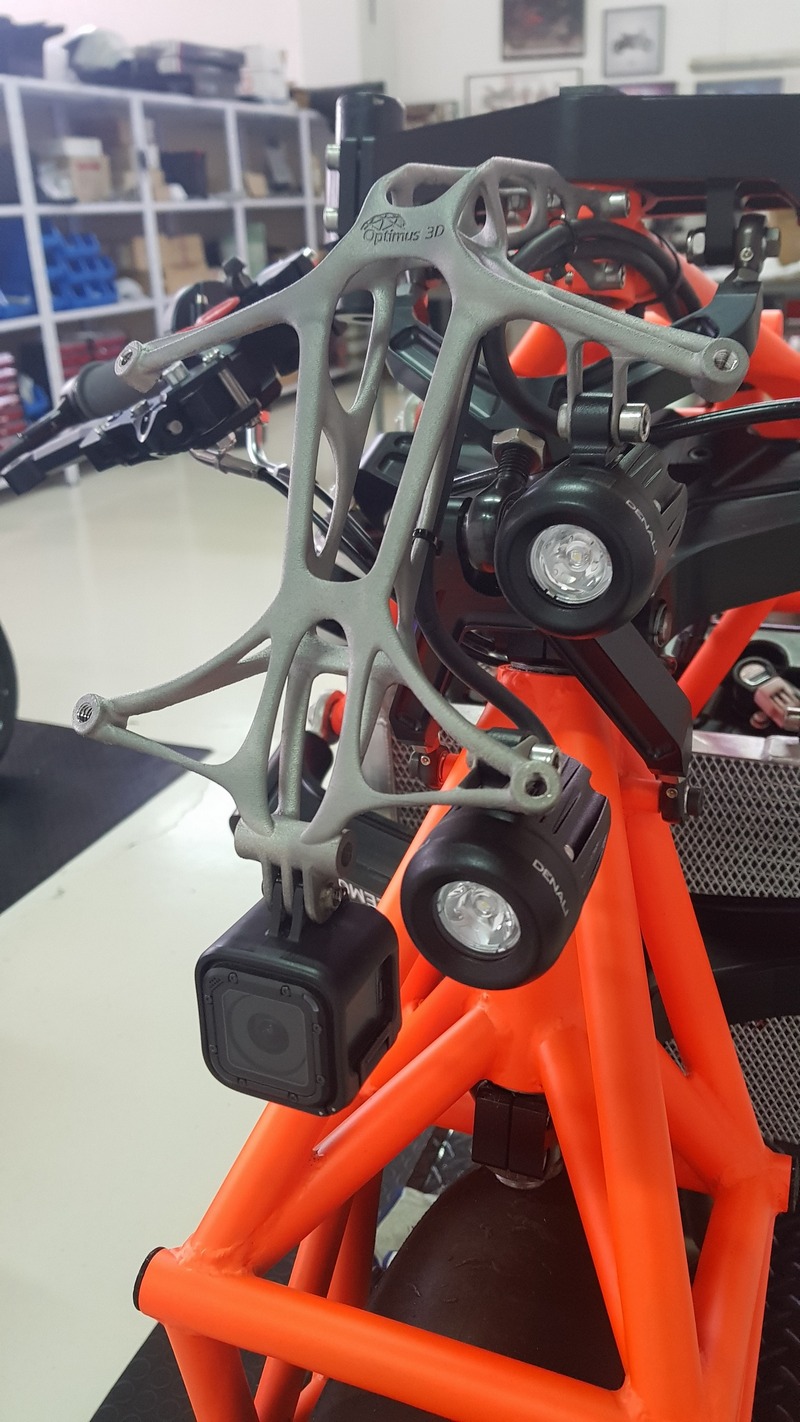
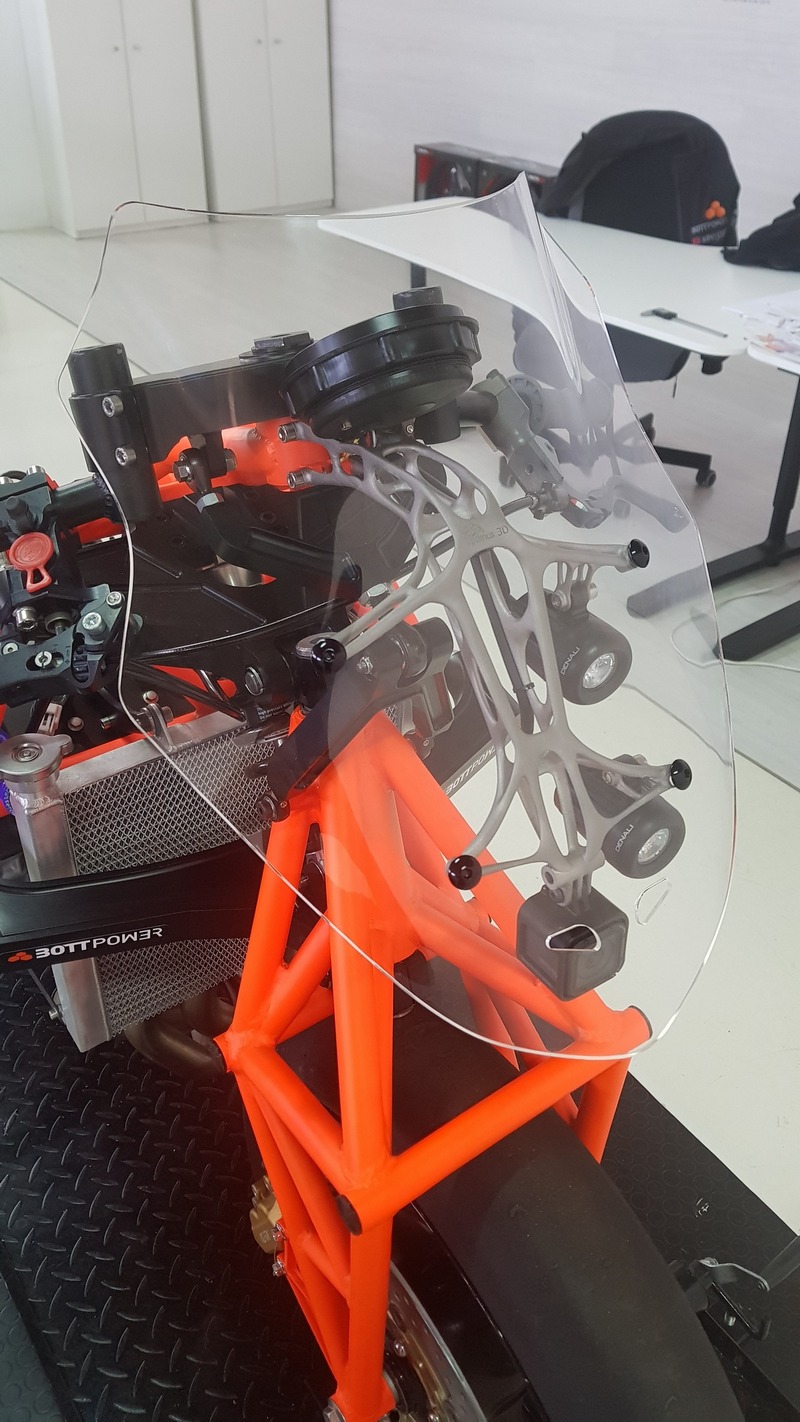
Later on, we post-processed TAP the holes, we mounted the part on the bike and we added the rest of the components: super compact and light Denali led headlights, a GoPro camera, Ermax windscreen, and a very light and racy Speedhut display. Everything fitted perfectly.
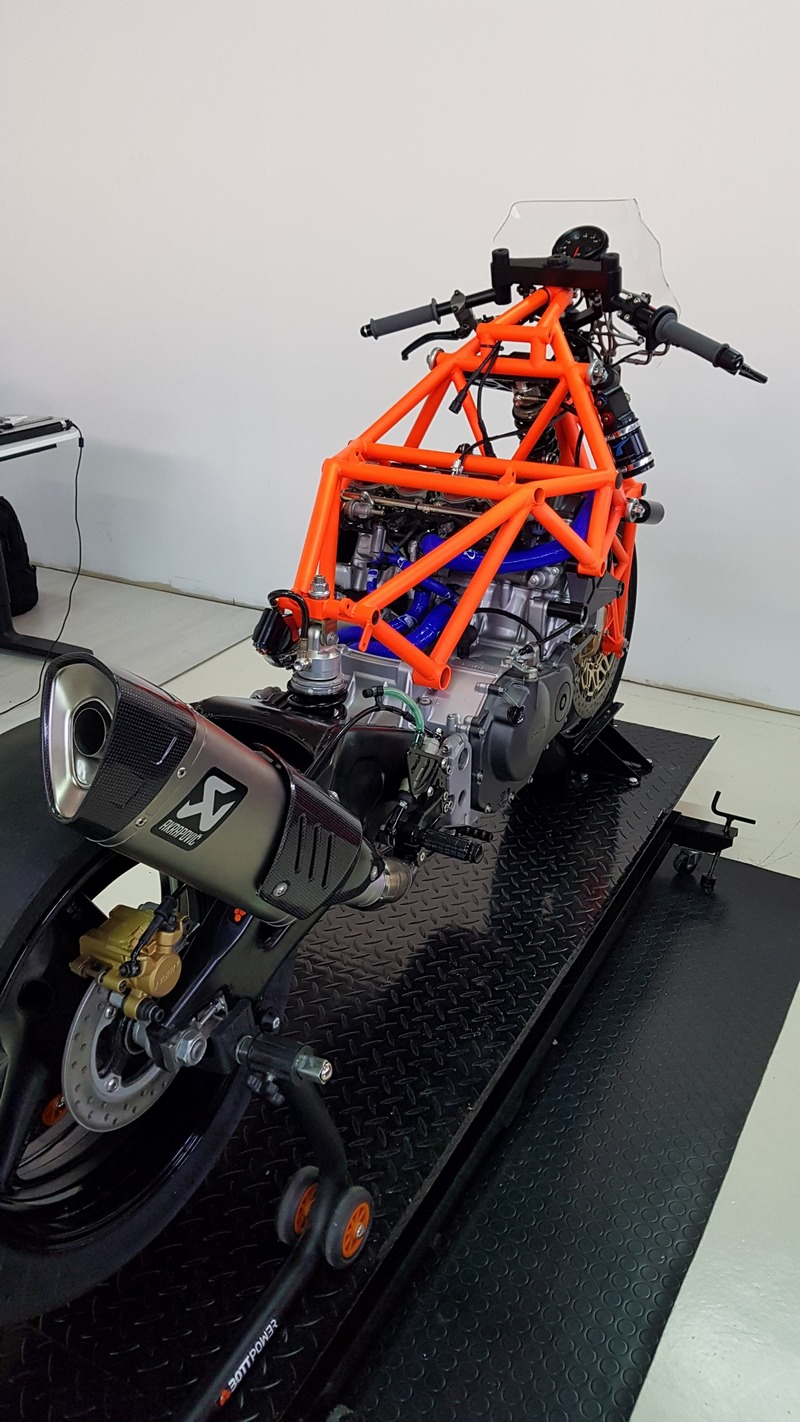
We also mounted a very cool and light titanium Akrapovic silencer on the bike. We are really happy because a brand like Akrapovic has decided to join us in this project.
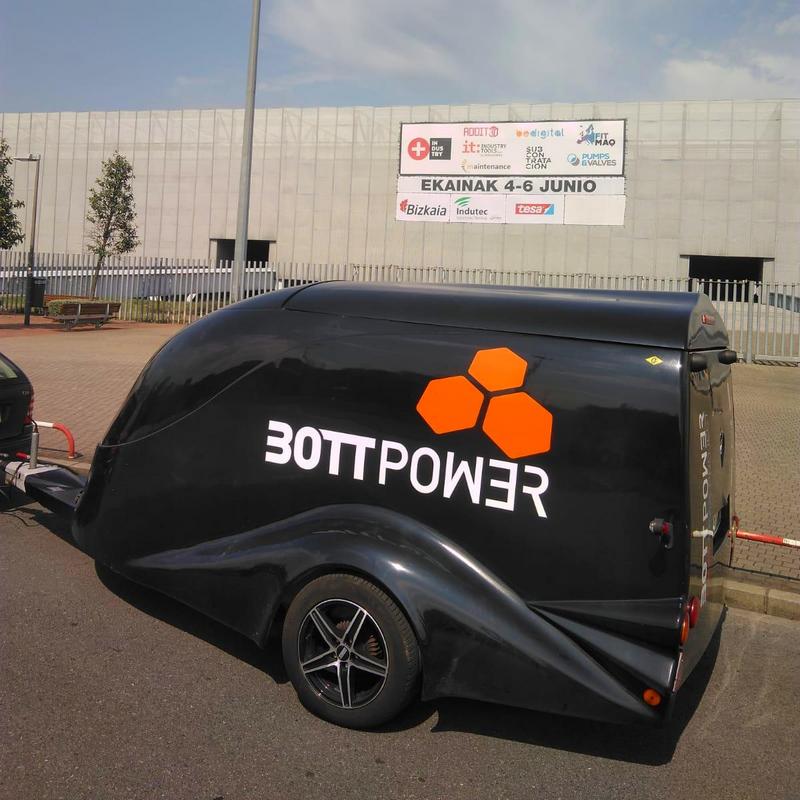
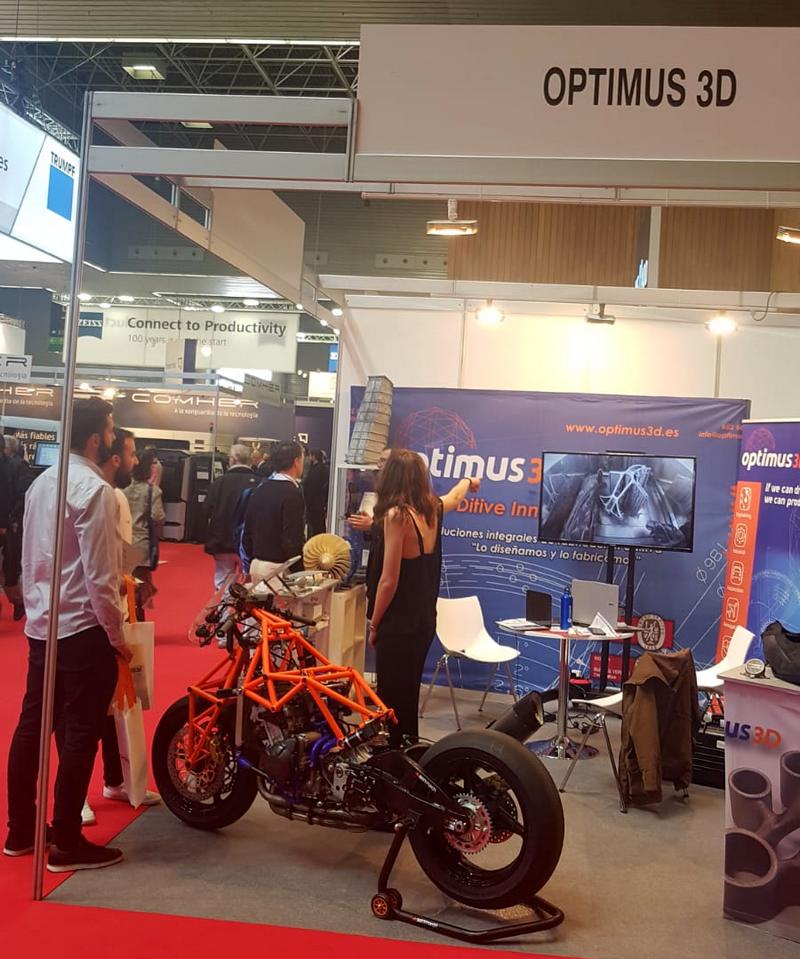
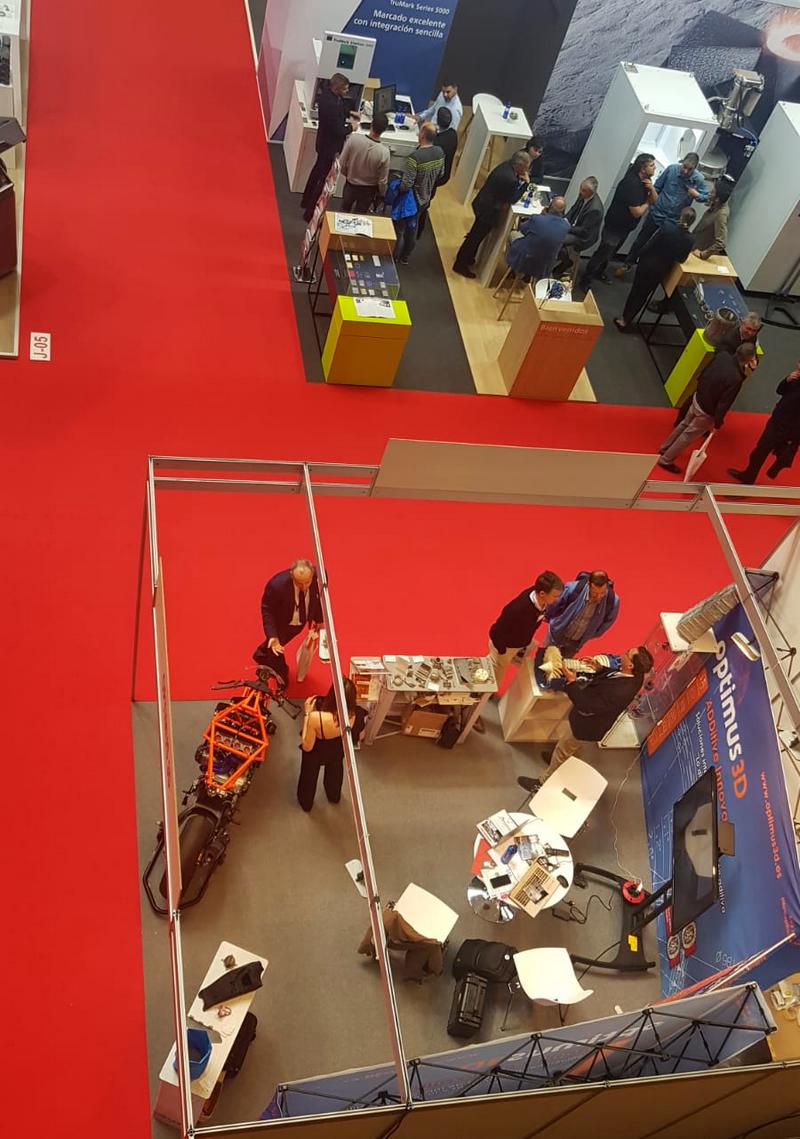
Finally, on Monday we drove to Bilbao, we unloaded the bike at the Bilbao Exhibition Center where the Addit3D fair was going to take place, and we delivered the Morlaco to our Optimus 3D partners, which had it on display in their stand during the next days.

We want to say thank you to Altair, Idaero, and Optimus 3D. Designing and fabricating this part in a very short time has been a very nice experience for us. We have learned a lot and we are already looking forward to the next steps with these great partners. 🙂
We are preparing a video of the whole process. We will publish it soon!
Hey David, that is pretty spectacular stuff! It is nice to see the old battlehorse Morlaco finally get undusted and restored to new glory. Can’t wait to see it finished, the blue and orange color scheme remains eclectic. Best, A.
Andreas, thank you for your kind words. You are officially invited to the Morlaco shakedown later on this year. 🙂
Morlaco looks like a NEW MILESTONE in the BOTTPOWER project. Terrific design showing power and challenge attitude over the years. A dream come true.
Hello Mike, thank you for your comment. I think this is just one step more in our way to keep learning and building better bikes. We are enjoying it a lot! 🙂
Very very cool! Thanks for sharing David.
Hello Thom, thank you for your comment! 🙂
Thats awesome guys. I hope you don’t mind but I will share this with my email list
Thank you, Matt. Of course, you can share it as much as you want! 🙂
That is such an organically beautiful part that now the rest seems dated.
Thank you for your comment, Paulo. I think that it gives a nice touch to the bike. A complete organic bike would be “too much” probably. 😊